First I had to peel it....easier said than done! It has ridges like a pumpkin and was kind of hard to hold. Took about 20 minutes but I finally got that little bugger peeled! Next was to cut it in half, scoop out the seeds, and then slice it relatively thin. Again.....easier said than done! This kind of squash was so hard! It looks like a sweet potato on the inside, but much harder to work with. It took me about 25 minutes to slice it (I'm not even kidding!). Finally it was time to coat it, bread it, and fry it. Since this squash was so big there was a lot to fry. I used the biggest skillet I had, but it still took about 40 minutes to do it all.
After finally finishing, I can honestly say it was super yummy! My husband and I both thought it tasted like sweet potato fries....and they were even better dipping them in ketchup! I liked this recipe, but it was a lot of work....my wrist is still sore. I might stick to using regular sweet potatoes because they're easier to work with and would use a lot less oil, plus you just bake them (therefore a lot less work!). I liked the flavor of the butternut squash so I'll just try it with another recipe next time....maybe a soup.
Notes:
*I did not measure the salt, pepper, garlic salt, or onion powder, but I did have to keep adding more so that it would not taste bland, I used a good bit. Taste test your first batch and add more if you think it needs it.
*You will have to keep adding olive oil after each batch.

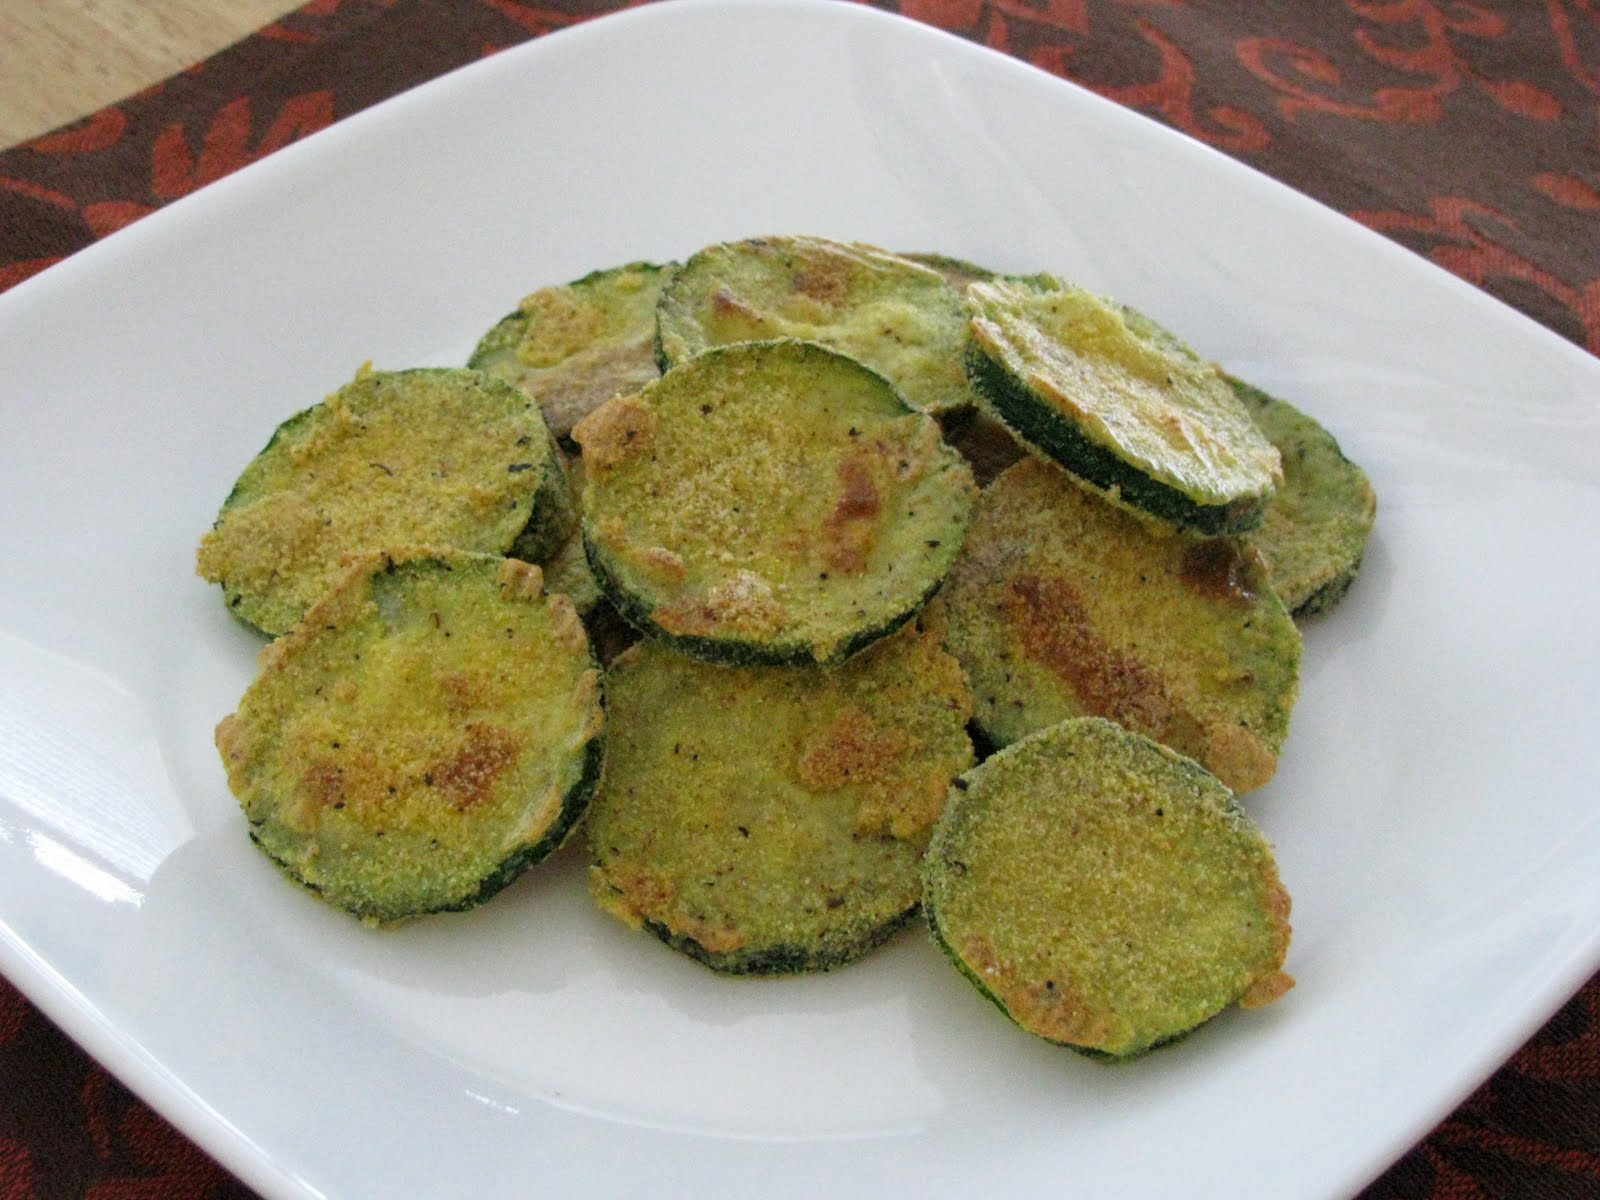
Country Fried Butternut Squash
1 large butternut squash - peeled, seeded and sliced
1/4 cup egg beaters (or 1 large egg)1/2 cup skim milk
1/2 cup whole wheat flour
1/2 cup cornmeal
salt
ground black pepper
garlic salt
onion powder
extra virgin olive oil for frying
1.Combine eggbeaters and milk together in a small bowl, mix well.
2.In a second bowl, combine flour, cornmeal, salt, pepper, garlic salt, and onion powder. Dip squash slices first in the egg mixture, then dredge the squash in the dry mixture.
3. Drizzle olive oil in a deep skillet over medium heat. Fry squash until golden brown.